Before you can being using external data within Connect, you must first establish the link and assign a symbol to the link.
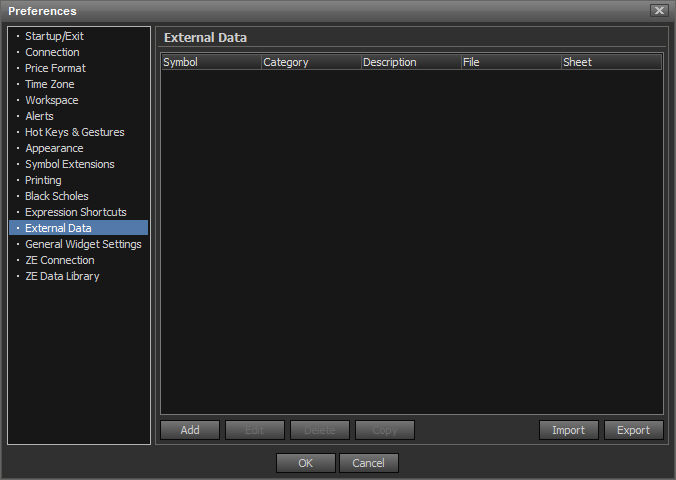
From the Utilities Menu, select External data and you will see the following library dialog
|
Dialog Buttons |
|
|
Add |
Creates new symbol link |
|
Edit |
Edit existing symbol link |
|
Delete |
Delete selected symbol link |
|
Copy |
Copies selected symbol link |
|
Ok |
Save the symbol links you have created |
|
Cancel |
Do not save the new links or changes that you have made |
* An Auto-Refresh setting is available within symbol link settings
|
Dialog Options |
|
|
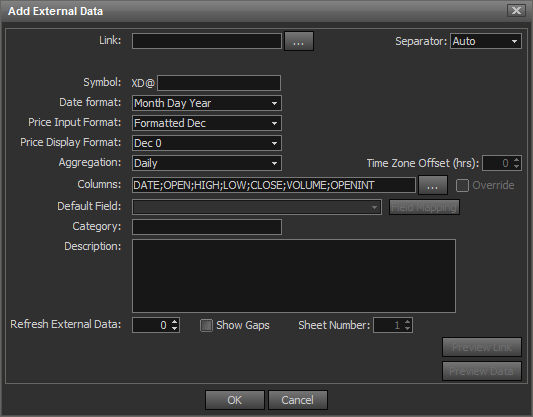
Link |
Used to select file in which to link to. Selecting … Brings up a Browse Dialog |
|
Sheet/Seperator |
Used to select which Sheet within the Excel File contains the Data. Non-Excel files you select the delimiter |
|
Symbol Name |
Custom Symbol to use when viewing the data |
|
Date Format |
Format that your Date is in within your data file |
|
Price Input Format |
The existing format of the data that is in your data file (See Input Formats Below) |
|
Price Display Format |
The format in which you want the data displayed |
|
Aggregation |
The current aggregation of the data file. Available options include Daily, Weekly, Monthly, Intraday and Tick |
|
Time Zone Offset |
Used to tell the system what the time zone offset is from GMT. Used if you which to utilize other time settings within Connect |
|
Columns |
The order in which the data is inside your data file. Data point available are Date, Open, High, Low, Close Volume, Open Interest, Tick Count, Price, Size** |
|
Override |
See override section below. |
|
Category |
Field that can be used to organize your Symbol Links. This is used when you are in the Symbol Search Dialog |
|
Description |
Assign a description to your symbol link. This is used when you are in the Symbol Search Dialog |
|
Refresh Interval |
The time interval in which Market Data will check the file and reload any new data that has been added to it |
|
Preview Link |
Used to view the Data File as it is |
|
Preview Data |
Used to view the Data File as Connect see’s it. This is useful to make sure you have set your column fields properly |
Field Override
You can now utilize any field name that you want, no longer bound to the standard OHLC fields. To do this you would select the Override check-box.
Defining fields in your data file
In order to use the override feature you must define the field names in your data file. Field names are always defined in the first row of the file. Field name can you of your choosing. By default all fields will be treated as Double Values.
Field Type Override
If you have a field that you want to be treated as a String or Integer you can override the field type. When doing so you would separate the fieldname and type by a semicolon.
Example field name treated as double: Wind Direction
Example field name changed to string: Wind Direction;String
Available type overrides: String and Integer (Default is Double)
Changing Field Names and/or Field Type
Anytime you change the field definition in a file, you must go into the External Data Library and un-check and re-check the override box which will tell the system to reconfigure based on new field definition. Normally once a link is setup users don't make many changes to the definition, as it is only data updates going forward.